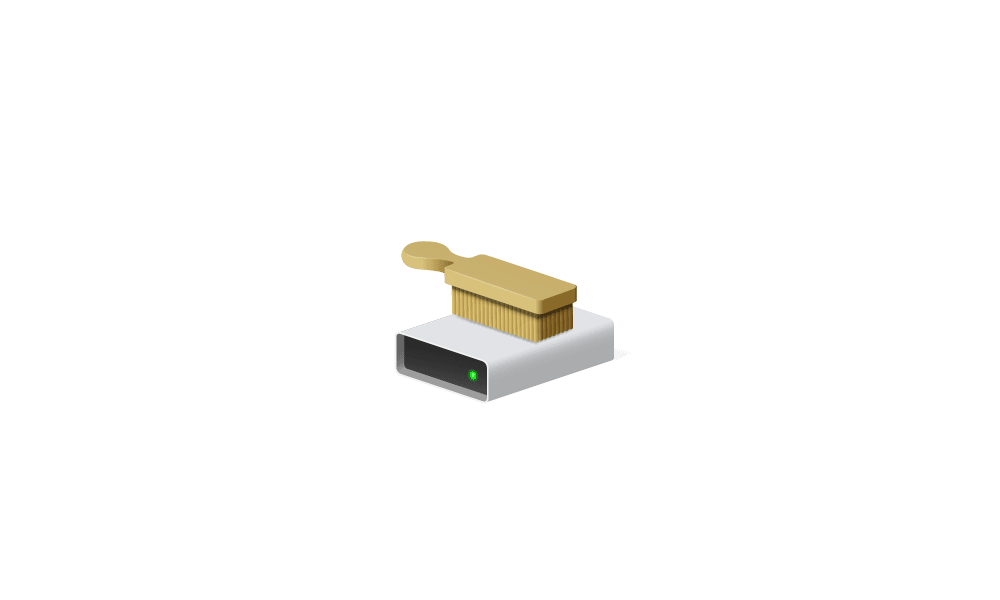
This tutorial will show you how to delete temporary files on your drives in Windows 11.
Windows creates temporary files while installing apps, loading web pages, or running updates. Left unchecked, they can use and hold up storage space.
Temporary files serve a purpose in the moment—they help Windows and apps run faster. But once they’ve done their job, they are supposed to be deleted. However, some can linger: system cache, leftover installation files, thumbnails, even old update data. Over weeks and months, these “leftovers” build up. That’s when you start noticing lag, low-storage alerts, or even failed updates. Regularly clearing them out is one of the easiest Windows performance tips you can follow.
References:
How To Delete Temporary Files | Microsoft Windows
Manage drive space with Storage Sense - Microsoft Support
 support.microsoft.com
- Option One: Automatically Delete Temporary Files using Storage Sense
- Option Two: Manually Delete Temporary Files on Windows System Drive
- Option Three: Manually Delete Temporary Files on Specific Drive
1 Turn on Storage Sense. (see screenshots below)

Turn On or Off Storage Sense in Windows 11
 www.elevenforum.com
2 Check Keep Windows running smoothly by automatically cleaning up temporary system and app files.
You can click/tap on the Run Storage Sense now button at the bottom to manually run Storage Sense on demand.
1 Open Settings (Win+I).
2 Click/tap on System on the left side, and click/tap on Storage on the right side. (see screenshot below)
3 Click/tap on Yes if prompted by UAC.
Starting with Windows 11 build 26100.7705 (24H2) and build 26200.7705 (25H2), to help ensure that only authorized Windows users can access system files, Windows now displays a User Account Control (UAC) prompt when you open Storage settings (Settings > System > Storage).
Starting with Windows 11 build 26100.8514 (RP 24H2), and build 26200.8514 (RP 25H2), Microsoft updated Settings > System > Storage, so rather than seeing a UAC prompt immediately when you go to the page, you’ll only see it when going to view temporary files.
4 Click/tap on Temporary files for the system Local Disk (C:) drive at the top. (see screenshot below)
5 Check the temporary files you want to delete, uncheck the temporary files you do not want to delete, and click/tap on the Remove files button when finished. (see screenshots below)
Some system temporary files will only be available to delete if you are signed in as an administrator.
If you delete Previous Windows installation(s) (if available), you will no longer be able to go back to the previous version of Windows.
6 Click/tap on Continue to confirm. (see screenshot below)
7 When cleanup has finished, you can close Settings if you like.
1 Open Settings (Win+I).
2 Click/tap on System on the left side, and click/tap on Storage on the right side. (see screenshot below)
3 Click/tap on Yes if prompted by UAC.
Starting with Windows 11 build 26100.7705 (24H2) and build 26200.7705 (25H2), to help ensure that only authorized Windows users can access system files, Windows now displays a User Account Control (UAC) prompt when you open Storage settings (Settings > System > Storage).
Starting with Windows 11 build 26100.8514 (RP 24H2), and build 26200.8514 (RP 25H2), Microsoft updated Settings > System > Storage, so rather than seeing a UAC prompt immediately when you go to the page, you’ll only see it when going to view temporary files.
4 Click/tap on Advanced storage settings to expand it open, and click/tap on Storage used on other drives. (see screenshot below)
5 Click/tap on the drive you want to cleanup temporary files from. (see screenshot below)
6 Click/tap on Temporary files. (see screenshot below)
7 Check the temporary files you want to delete, uncheck the temporary files you do not want to delete, and click/tap on the Remove files button when finished. (see screenshots below)
Some system temporary files will only be available to delete if you are signed in as an administrator.
If you delete Previous Windows installation(s) (if available), you will no longer be able to go back to the previous version of Windows.
8 Click/tap on Continue to confirm. (see screenshot below)
9 When cleanup has finished, you can close Settings if you like.
That's it,
Shawn Brink