Microsoft 365 Insider Blog:
Hi, Microsoft 365 Insiders! I’m Greeshma Marri, a Product Manager on the Microsoft Designer team. I’m excited to share with you an overview of a fantastic new feature in Microsoft Designer called Restyle Image. This fun and easy tool allows you to transform your photos into stunning, stylized images with just a few clicks.
Transform photos with Restyle Image in Microsoft Designer
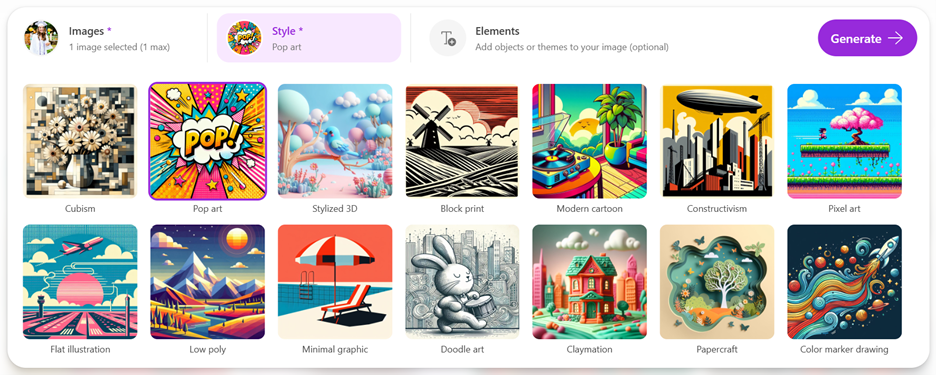
Restyle Image lets you reimagine, restyle and recreate your images in a new light by uploading an image, choosing from a set of styles (such as pop art, flat illustration, papercraft, stylized 3d, and more), and describing any customizations you want to see. You can easily turn your photos into stunning works of art!Whether you want to create a unique avatar, make an ordinary scene more unique and eye-catching, or create cohesion and consistency across a set of images, Restyle Image has you covered. Create high-energy profile pics, social media posts, and graphics for your personal blog, newsletter, or website. The tool is also great for making presentations, tutorials, and classroom lessons more interesting and engaging.
How it works
- From the Microsoft Designer home screen, navigate to Restyle Image.
- Sign into your Microsoft account or create one for free.
- Upload your photo to Microsoft Designer. If you’ve already used the image in a different project, you’ll find it in the My Media tab.


- In the Styletab, select a style that catches your eye.
- Select Generateand Designer will show you one to four options in the new style.
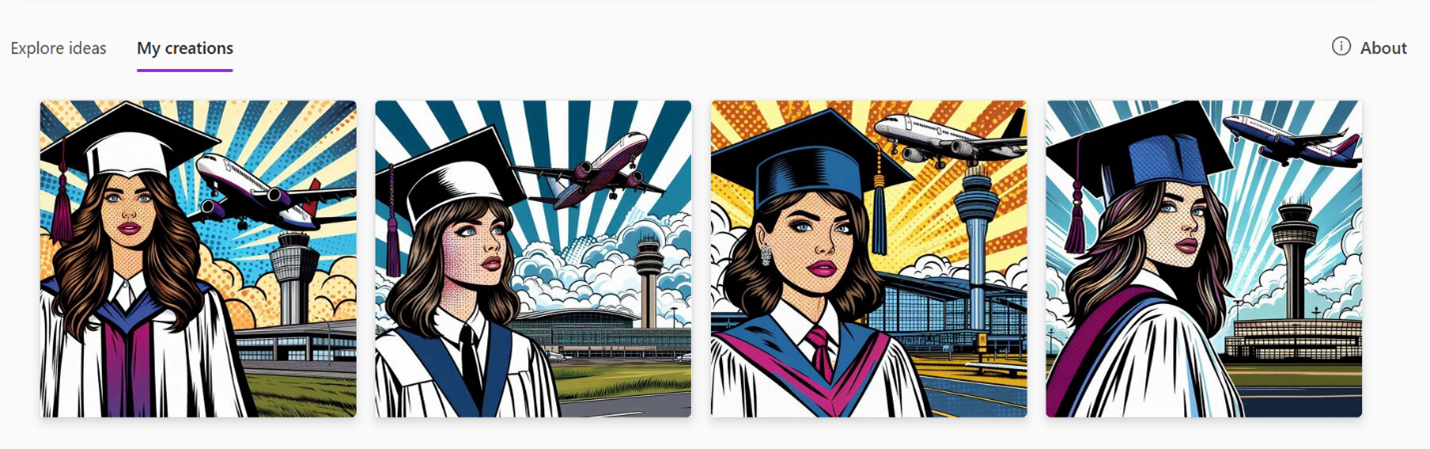
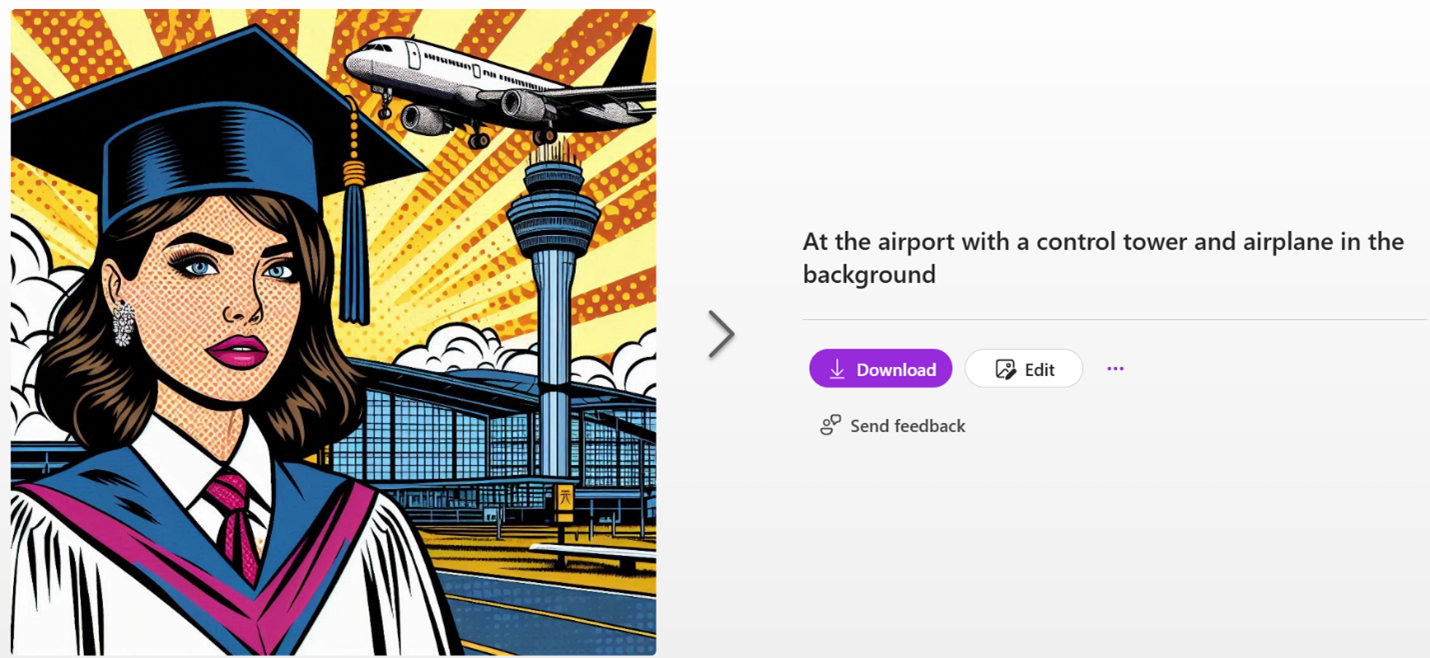
- Select the graphic you like best and Download or Edit to add text, make changes, or use your artwork in another design.
Ideas to try
Restyle Image is perfect for creating unique avatars and profile pictures for your social media accounts. Upload a selfie and transform it into a trendy, bold, or nostalgic masterpiece by changing its style. Your profile will stand out from the crowd!That said, you can use Restyle Image for more than just profile pics. Here are some other fun and creative uses for this feature:
- Create cover photos, social media posts, and visuals for your personal newsletter and/or blog posts. Using a consistent style across your graphics can help you tie your content together and create a cohesive look. A flat illustration style has a modern and minimalist appeal, while a more artistic style like papercraft is perfect to show off your creativity.
- Turn a favorite photo into a work of art. Whether it’s a wedding photo, an amazing artistic shot, or a picture of your favorite people, you can breathe new life into an old favorite with Image Restyle. The resulting artwork makes a one-of-a-kind gift, helping you and your loved ones cherish your shared memories even more.
- Make online or classroom course materials unique and memorable. If large blocks of text and plain PowerPoint presentations make your students’ eyes glaze over, use Restyle Image to add visuals with a consistent and engaging look. Sometimes the right graphics are just what it takes to transform a dull or intimidating subject into an accessible student favorite.
Tips and tricks
- Experiment with different styles to find the one that best suits your photo and purpose. Similarly, try lots of different kinds of photos: people, landscapes, pets, food, you name it. The more you experiment with the tool, the more creative uses you’ll discover.
- If you’re not sure where to start, cruise through the graphics in the Explore Ideas tab. When a graphic catches your eye, select it to use the same style and prompt with your own photo.
- To further customize an image, add a description. For this example, add, “At the airport with a control tower and airplane in the background.”
- Use the optional text prompt to add specific details or keywords that will guide the AI in creating a more personalized image. For best results, use concrete nouns (“a cityscape,” “a spaceship,” “a dog”) and not abstract concepts (“love”).
- Ready to take your design and/or prompting skills up a notch? Get expert tips on using Restyle Image and other features in Microsoft Designer.
Known limitations
- While AI image generators are improving every day, we do still occasionally get misspelled words within the generated images. So, please double-check spelling in your images if they include text! If you’re consistently having trouble generating a particular word or phrase, try leaving it out of your prompt—you can always use the Editor to add text later.
- If you’re restyling a photo of a person, you’ll often get better results if the photo only includes one person. This helps the AI do its job without mix-ups, since it can focus on one set of facial details at a time.
- Restyle Image is currently available in English and will be available in other languages soon.
Availability
Restyle Image is currently available to all Microsoft Designer users in English, and you can access it with your Microsoft account.Feedback
We’d love to see the amazing images you create using Restyle Image in Microsoft Designer! Share your creations and feedback with us @MSFT365Designer on X or @msft365designer on Instagram using the hashtag #MicrosoftDesigner. Your feedback really helps us improve, and we can’t wait to see what you come up with! Source:

Microsoft 365 Insiders
Become an Insider: be one of the first to explore new Microsoft 365 features for you and your business.