This tutorial will show you how to create (add) or remove a passkey saved to a FIDO security key for your Microsoft account.
Passkeys are a replacement for your password. With passkeys, you can sign into your Microsoft personal, work or school account using your face, fingerprint, PIN, or security key. Signing in with a passkey is simple, fast, and helps protect you against phishing attacks.
Passkeys are supported on desktop and mobile browsers. You can use Windows Hello on Windows 10/11 devices to sign into your account with a passkey.
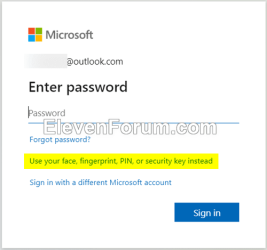
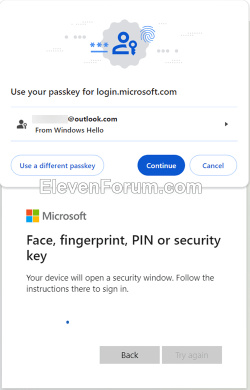
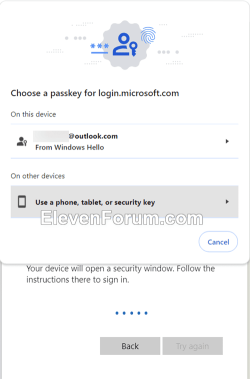
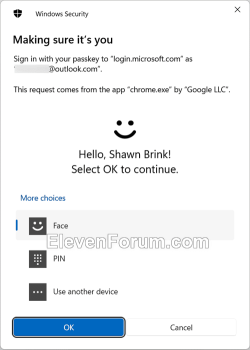
When you sign in to your Microsoft account, you can use your passkey by choosing Sign-in options and then selecting face, fingerprint, PIN, or security key. Your device will open a security window, and then you can use your passkey to sign in.


References:

New passkey support for Microsoft consumer accounts | Microsoft Security Blog
Today, we’re announcing passkey support for Microsoft consumer accounts, the next step toward our vision of simple, safe access for everyone.
Signing in with a passkey - Microsoft Support
Contents
- Option One: Create (Add) Passkey on Security Key to your Microsoft Account
- Option Two: Remove Passkey on Security Key from your Microsoft Account
EXAMPLE: What are passkeys
Your exact steps below may vary.
1 Connect your FIDO security key to your Windows 10/11 PC.
2 Go to the Advanced Security Options page at Microsoft, and sign in to your Microsoft account. (see screenshot below)
3 Click/tap on the Add a new way to sign in or verify link. (see screenshot below)
4 Click/tap on the Face, fingerprint, PIN, or security key option. (see screenshot below)
5 Select Security key, and click/tap on Next. (see screenshot below)
6 Click/tap on OK. (see screenshot below)
7 Click/tap on OK. (see screenshot below)
8 Enter your security key PIN, and click/tap on OK. (see screenshot below)
9 Touch your security key fingerprint sensor. (see screenshot below)
10 Click/tap on OK. (see screenshot below)
11 Enter a name you want for this passkey, and click/tap on Next. (see screenshots below)
12 Click/tap on OK. (see screenshot below)
1 Go to the Advanced Security Options page at Microsoft, and sign in to your Microsoft account. (see screenshot below)
2 Click/tap on Use a passkey for the passkey (ex: "SecurityKeyPasskey") you want to remove to expand open that section. (see screenshot below step 3)
3 Click/tap on the Remove button for this passkey. (see screenshot below)
4 Click/tap on Remove to confirm. (see screenshot below)
5 Click/tap on OK. (see screenshot below)
That's it,
Shawn Brink
Attachments
Last edited:


