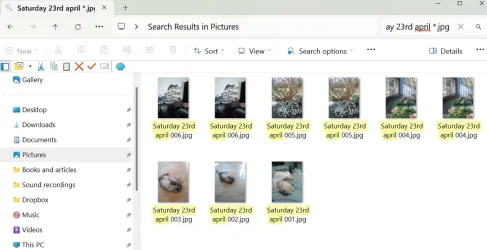
This tutorial will show you how to save a search query in File Explorer in Windows 11.
You can save a search query as a Search Folder, a virtual folder displayed in File Explorer under the Searches folder. Opening a Search Folder runs the saved search and displays up-to-date results. The saved search file stores the query in a format Windows Search can act on, specifying what to search for, where to search, and how to present the results.
The saved search is generated from an XML file (*.search-ms) in the %userprofile%\Searches folder.
Reference:

Saved Search File Format - Win32 apps
Windows users can save searches as a Search Folder which is generated by an XML file that stores the query in a form that can be used by the Windows search subsystem.
docs.microsoft.com
You can Pin to Start, Pin to Quick access, or move the saved search to where you like to use it from.
Here's How:
1 Perform a search in the Search Box of File Explorer using the search criteria you want.
2 Right click on an empty area in the search results, and click/tap on Save search. (see screenshot below)
3 Perform the following steps: (see screenshot below)
The search is saved to the Searches folder by default, but you can save the search anywhere you like.
- Type a name you want for the saved search.
- Change or add author(s) for the Authors details property if wanted.
- Add one or more tags for the Tags details property if wanted.
- Click/tap on Save.
4 The search query will now be saved. (see screenshots below)
That's it,
Shawn Brink
Last edited:


